Page meta settings are Astra Settings that appear on all individual pages and posts. Namely, these are page-specific settings that give you more control over individual page/post design. Further, you can override some global customizer settings for a particular page/post with these settings.
You can open the Astra Settings panel by clicking on the Astra icon in the Block editor toolbar on top:
You will find the new settings with the release of Astra theme 3.8.0.
To make it intuitive and easy to enable/disable the Page/Post titles, we have provide this option right on the Title section, without the need to open the Astra settings.
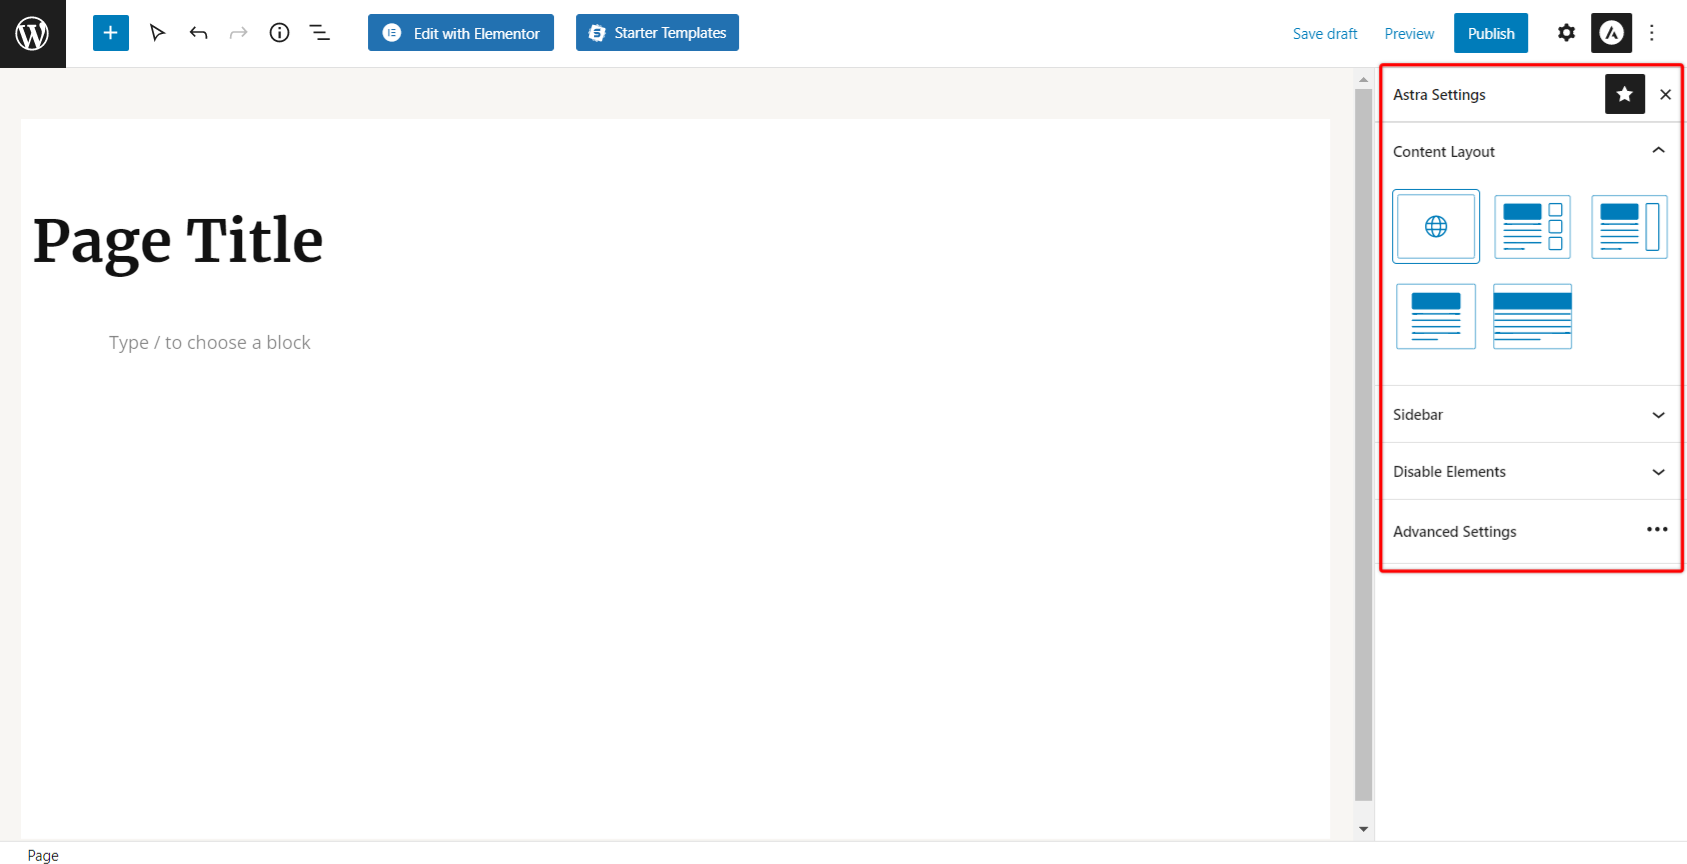
Next, when you click on the Astra icon, the sidebar panel will open on the right side. Here, you will see the following options:
- Content Layout
- Sidebar
- Disable Elements
- Disable Header
- Disable Footer
- Advanced Settings
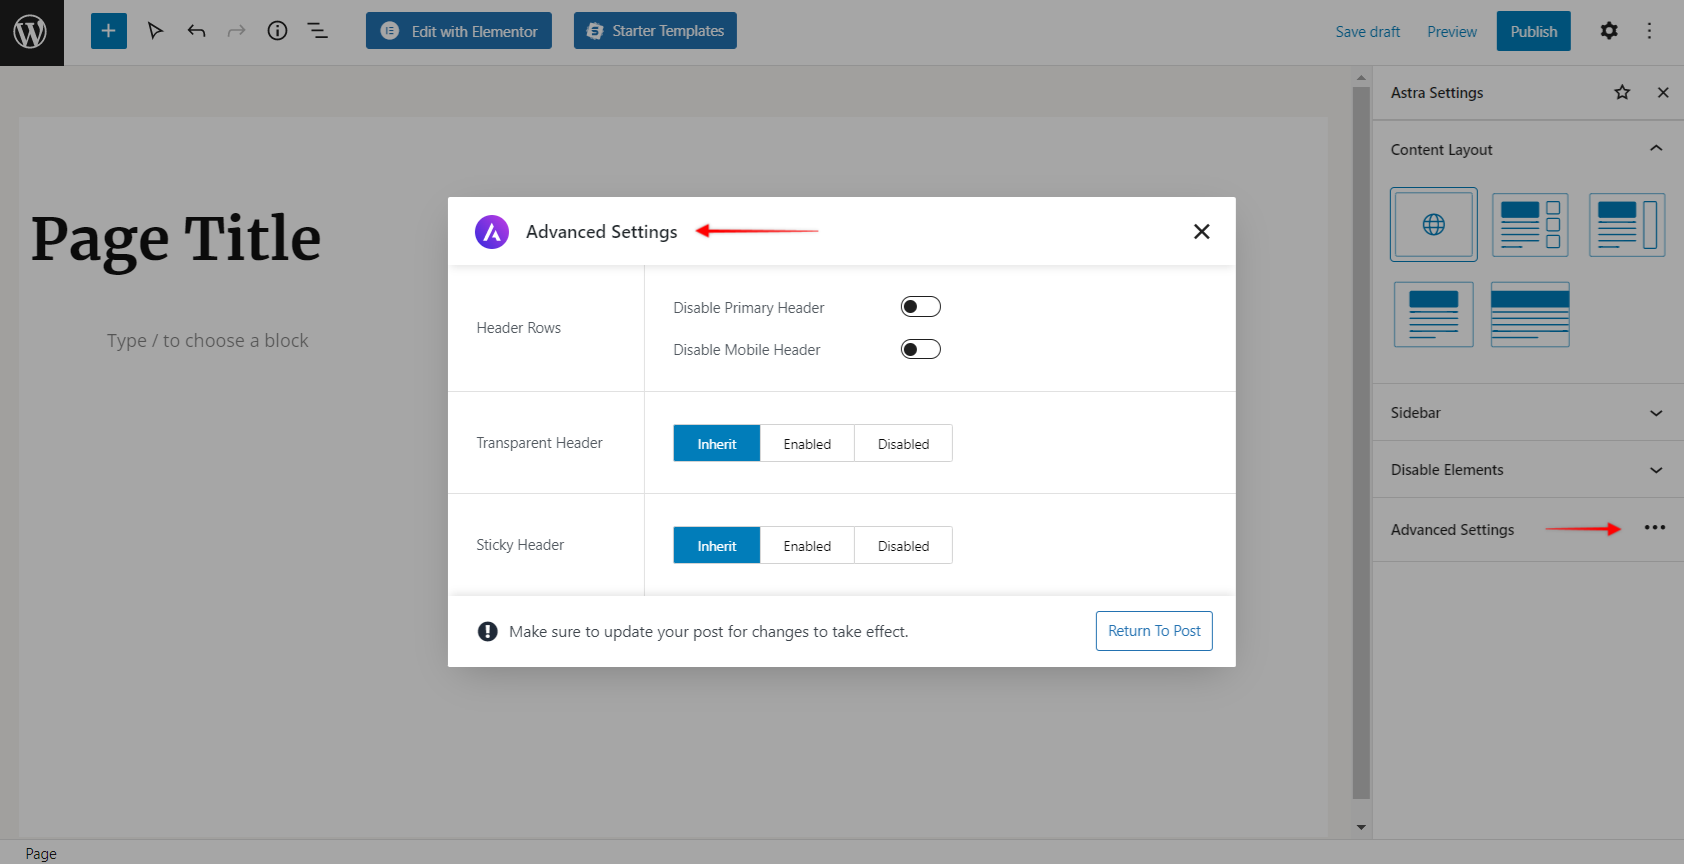
- Header Rows
- Transparent Header
- Sticky Header
Furthermore, page meta settings have higher priority than customizer settings. Therefore, your page meta settings will override customizer settings on each page or post.
To illustrate, let’s say you enabled a primary header on the entire website in the Customizer settings. Still, you wish to disable it only on the “Contact” page. Here, you can edit the “Contact” page and disable the primary header only for this page in Astra settings. Similarly, you can control other meta settings.
Note:
The Astra Settings are available as a separate sidebar panel since Astra Theme 3.7.4 version. If you’re running an older version of Astra Theme, you can find the Astra Settings panel in the right sidebar of the Block editor (Screenshot).
How to Pin/Unpin Sidebar Panel?
The above-mentioned Astra icon will be visible when the sidebar panel is pined to the Block editor toolbar. Thus, if you don’t see this icon, that means that the sidebar panel is unpinned.
Since it’s not mandatory to have your sidebar pinned, you can always access the sidebar panel through Block editor options. Therefore, to access your sidebar panel, please follow these steps:
Step 1 – Open editor on your page or post. Here, click on the three-dot menu in the toolbar to open editor options;
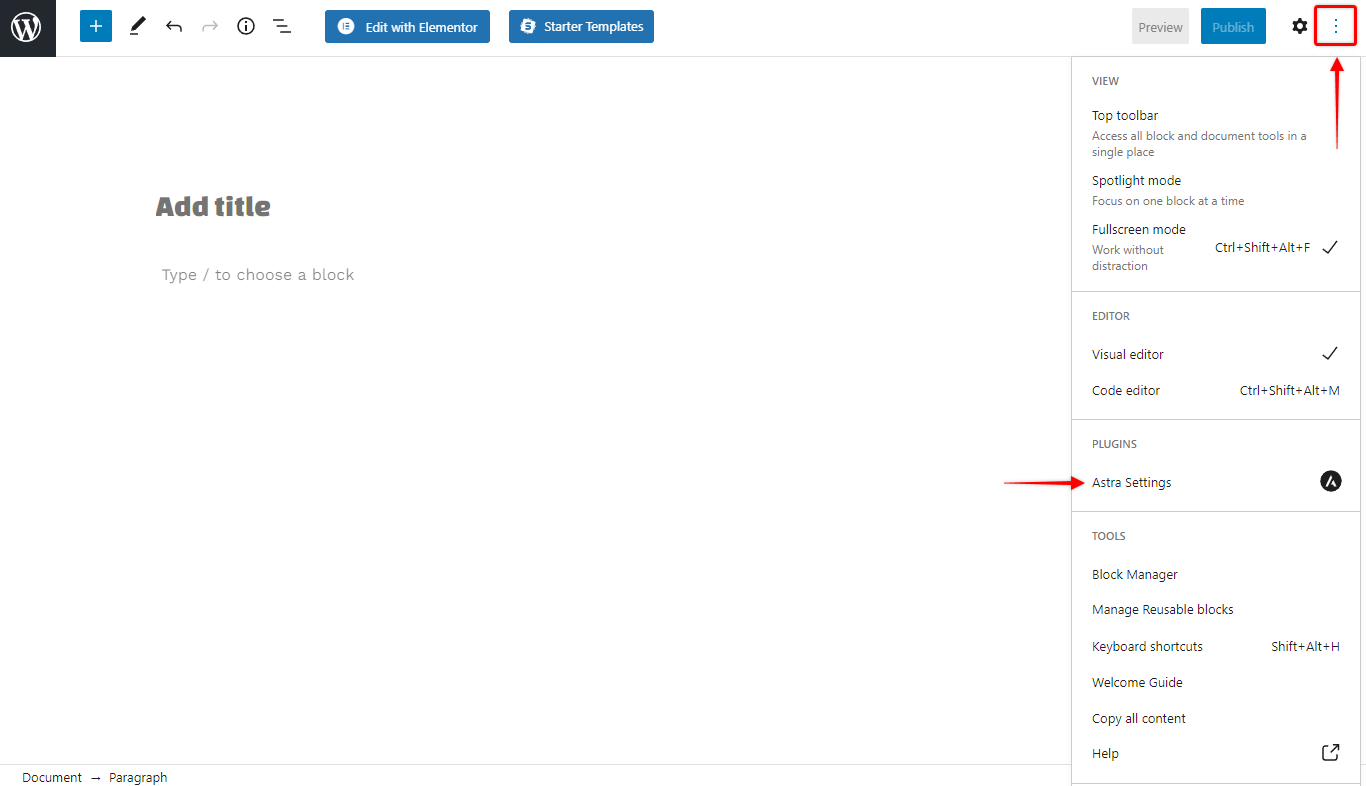
Step 2 – Scroll down to the “Plugins” section and click on the “Astra Settings” to open the sidebar panel;
Once you open the sidebar panel, you have the option to pin it to the toolbar:
Step 3 – Click on the “star” icon on the top of the sidebar panel. This will pin your sidebar panel to the toolbar allowing you to access it directly by clicking the Astra icon.
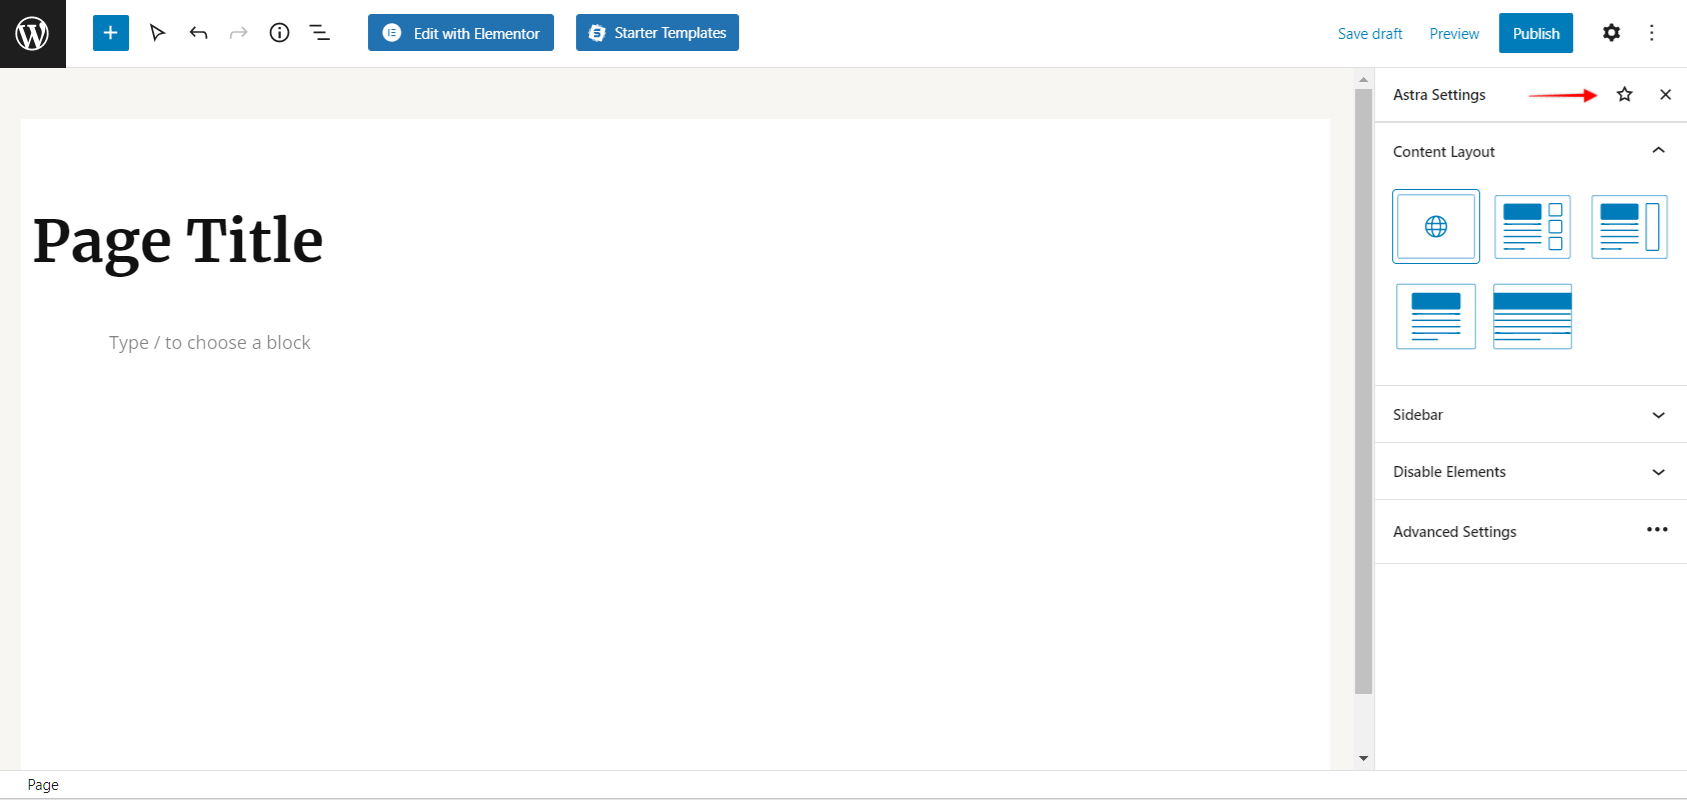
Yet, If you wish to unpin the sidebar panel at any time, just click on the “star’ icon again.
The below settings show the options available under the Advanced Settings:
Astra Settings with Astra Pro
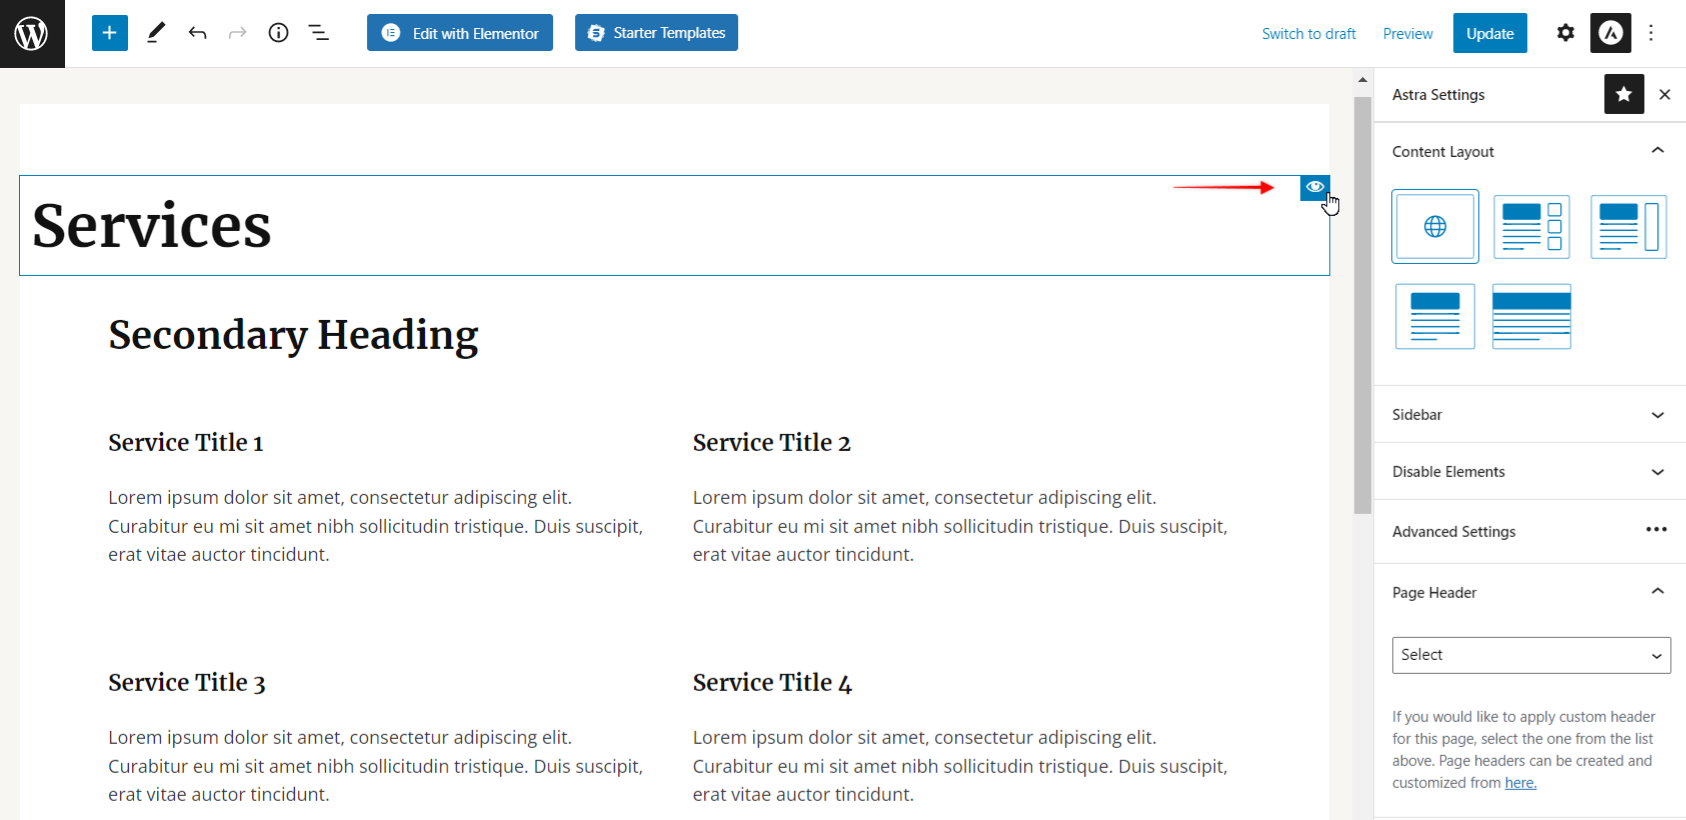
Besides the default Astra themes settings mentioned above, you will see additional options when you activate Astra Pro:
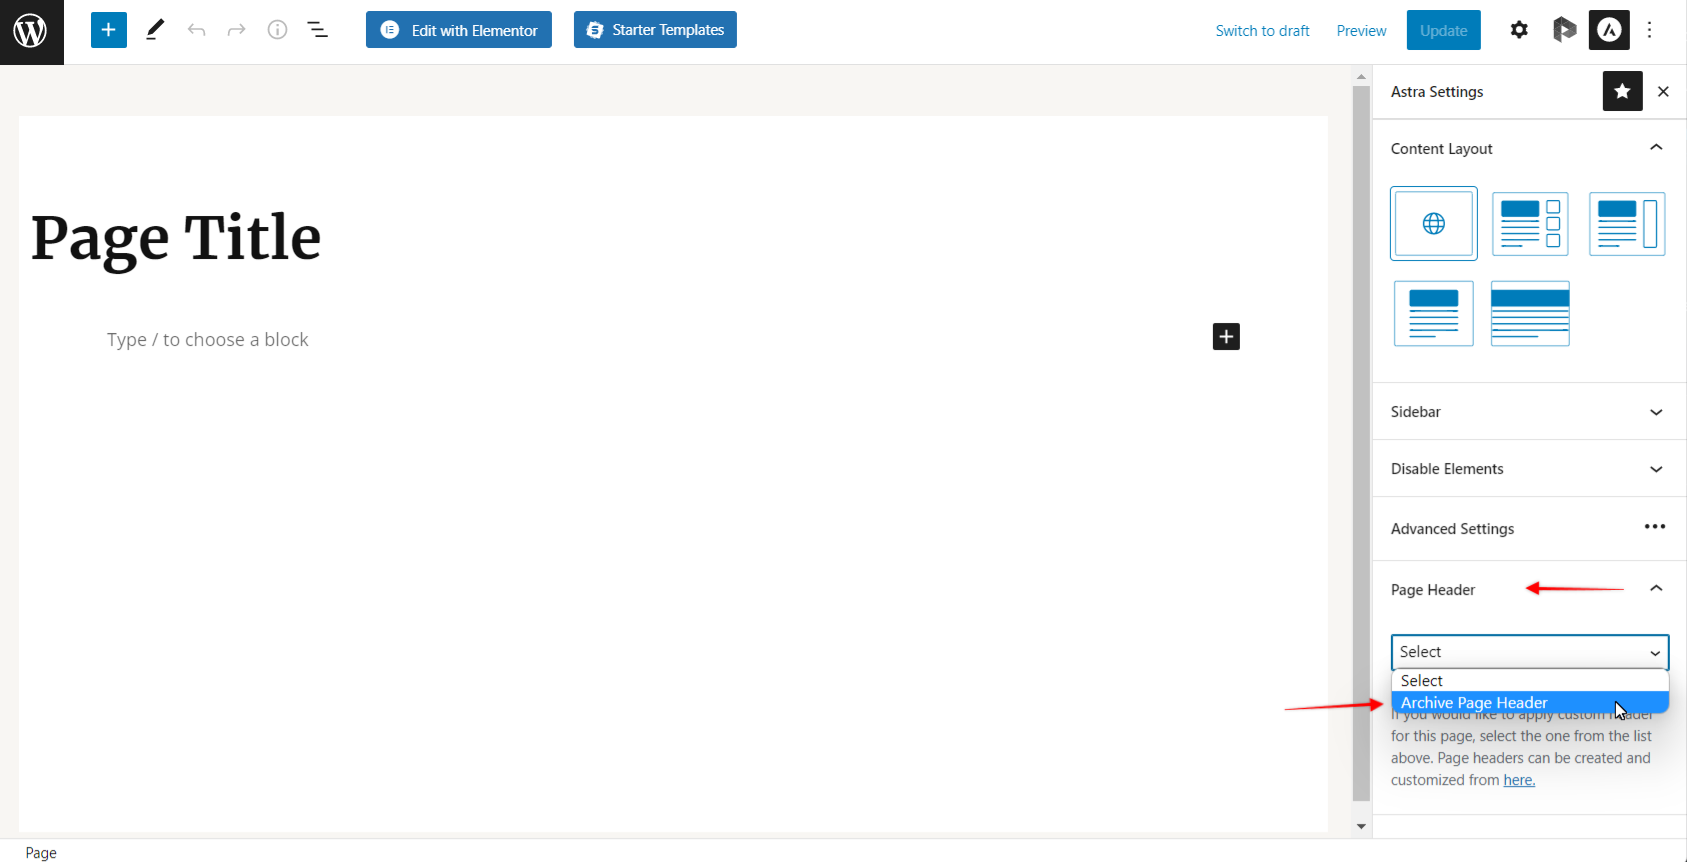
- Page Header
- Sticky Header
With these options, you can add a particular Page Header layout for the specific page or post. To do this, click on the Page Header dropdown, and select the layout from the list. Also, you can enable or disable the sticky header on each page or post individually.
However, these Astra Pro options will display only when related addons are activated. You can activate these addons at Dashboard > Appearance > Astra Options.
In addition, you can bulk edit the page meta settings on multiple pages/posts. Check the “How to Bulk Edit Astra Meta Settings on Multiple Pages & Posts at Once?” article for more details.